
We use below process to deploy Adobe Reader via Group Policy for few of our customers it Oxford and Woodstock (Oxfordshire).
Note: The computer on which you perform the following steps cannot have Adobe Reader installed.
- Download the latest version of Adobe Acrobat Reader for your Windows version and language from Adobe’s enterprise downloads page: https://get.adobe.com/uk/reader/enterprise/ (in our case Windows 10, English).
Even though Adobe Reader is a free software to be compliant Adobe’s T&Cs you have to apply for enterprise distribution license. This can be done from this page (click Apply for a license at the bottom of the page).
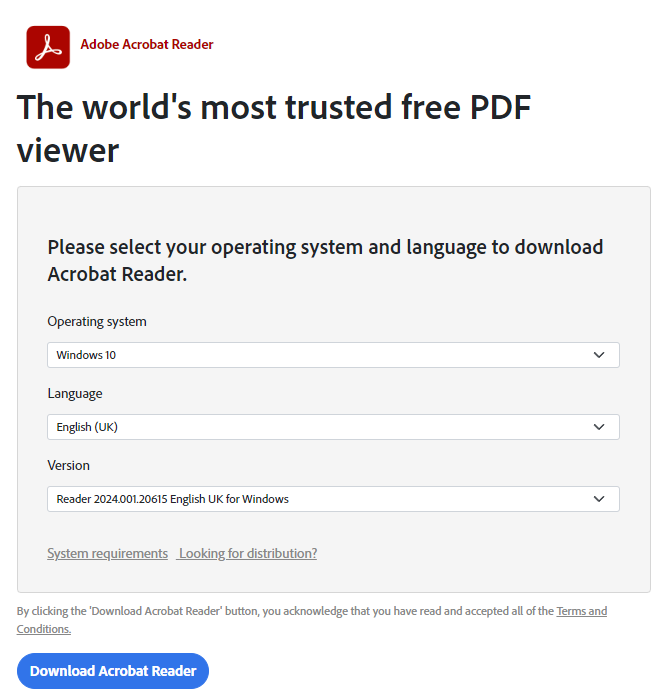
- Extract the downloaded .exe file using 7-Zip to C:\TMP folder.
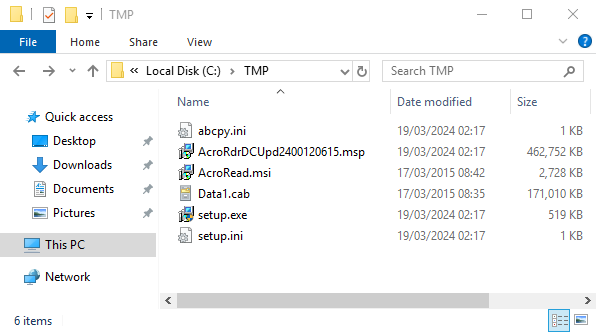
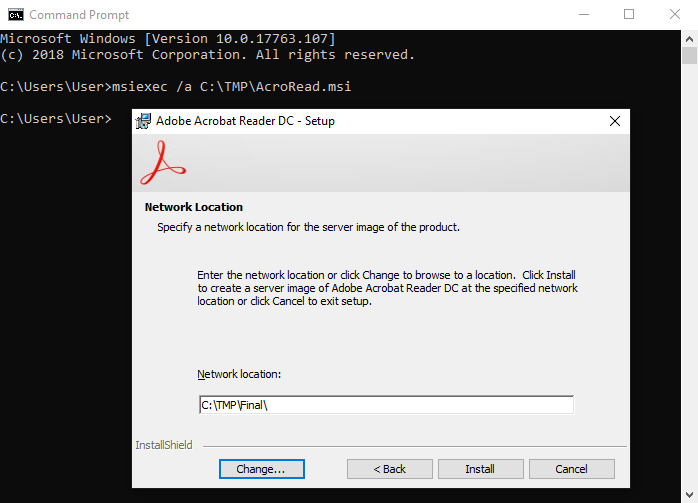
- Open the command prompt and run: msiexec /a C:\TMP\AcroRead.msi
- Adobe Reader Setup Window will open. Click Next > Change, set target location as C:\TMP\Final\. Now click Install to extract the files to the Final folder.
- Move AcroRdrDCUpdxxxxxxxxxx.msp file from C:\TMP to C:\TMP\Final
- Open the command prompt again and run msiexec /a C:\TMP\Final\AcroRead.msi /p C:\TMP\Final\AcroRdrDCUpdxxxxxxxxxx.msp
Replace AcroRdrDCUpdxxxxxxxxxx.msp with the exact name of the file. - Make sure the target location is set as C:\TMP\Final\ and click Install to apply the .msp patch.
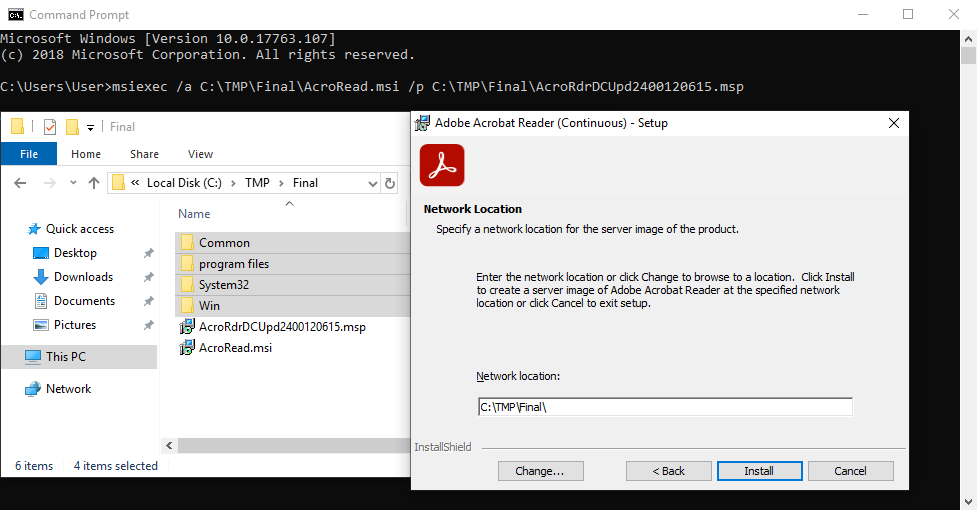
- Delete AcroRdrDCUpdxxxxxxxxxx.msp file from C:\TMP\Final
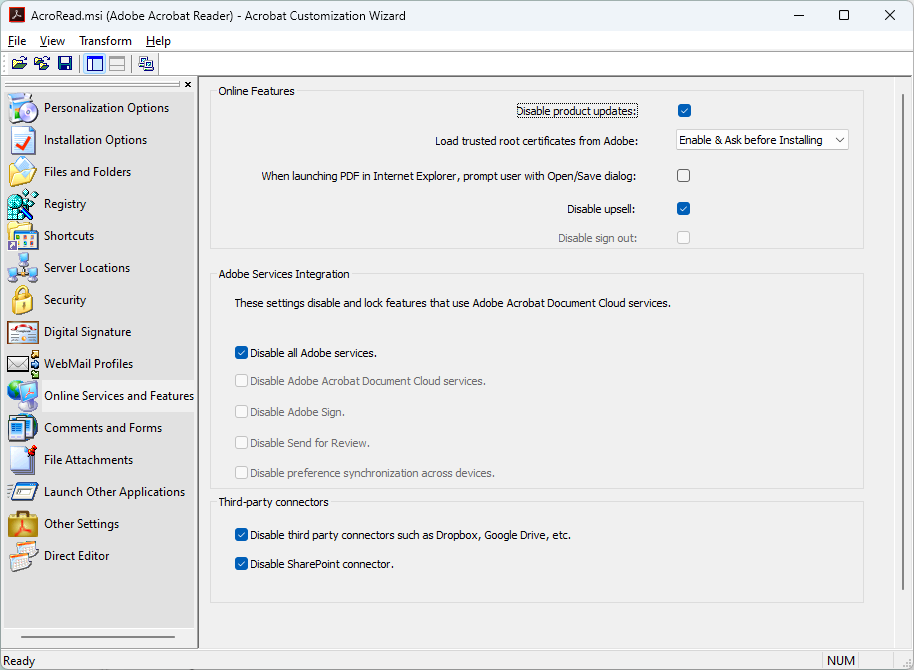
- This is optional step, but you can open the .msi with Acrobat Customization Wizard in order to customize the installer as per your requirements and generate .mst transform file. Some of the change you may wish to apply:
- Suppress EULA.
- Disable Desktop Shortcut.
- Disable online services, updates, and upsell.
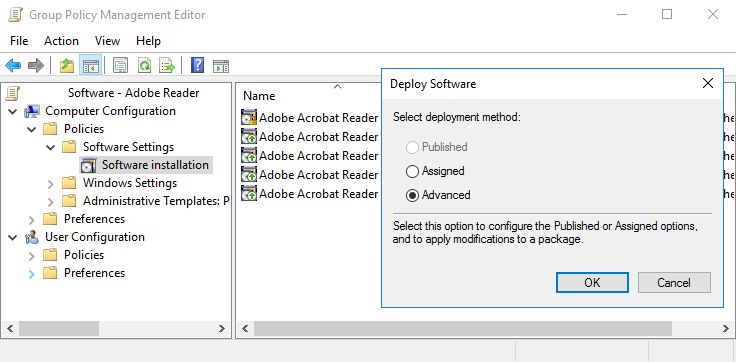
- You can now move C:\TMP\Final to your server and deploy as any other .msi installation package. If you intend to apply the .mst transformation file, remember to choose Advanced deploy option.
Windows 10 Pro
Windows Server 2016
Adobe Acrobat Reader
Previous Post